A succulent that produces offsets is not asking for help. It is handing you a free plant. The counterintuitive part is that the biggest risk in dividing those offsets is not cutting too early or too roughly—it is waiting too long, letting the pup stay attached until its own roots tangle with the mother’s and the whole cluster becomes a single congested root ball that is far harder to separate cleanly. Most beginners assume patience protects the plant. In practice, timing the separation around the pup’s own root development matters more than patience alone.
This walkthrough follows one cluster of Echela ‘Lola’ from the moment offsets first appear to the point where a single pot becomes three independent plants. The general rules are folded into the steps, because every succulent offset behaves the same way at the structural level: a small clone growing from the mother’s stem or base, drawing on her resources until it is ready to fend for itself.
Recognizing When an Offset Is Ready
An offset, sometimes called a pup or a chick, starts as a small rosette pushing out from the side of the mother plant or emerging from the soil at her base. It looks like a miniature version of the parent, which it is. For the first several weeks it has no root system of its own—it is fed entirely through the connection to the mother stem.
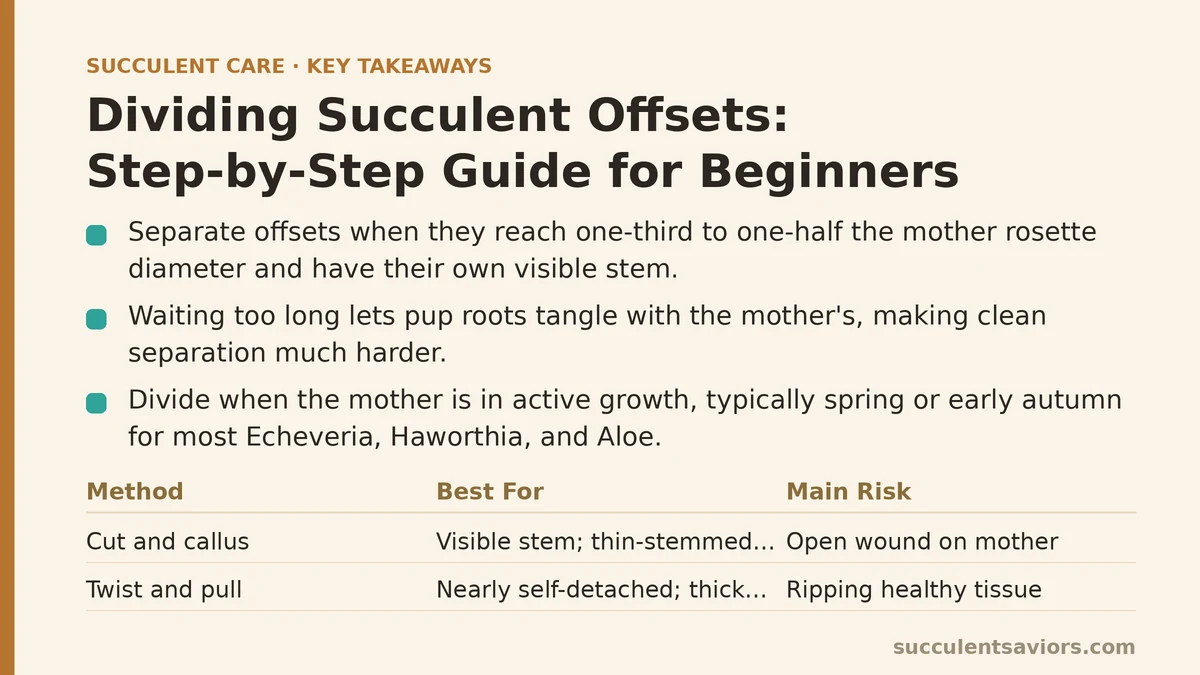
The signal that it is ready to be separated is size combined with root activity. A good rule of thumb: wait until the offset is roughly one-third to one-half the diameter of the mother rosette, and until it has formed a visible stem of its own below the leaves. On a plant like Echeveria ‘Lola’, that typically means an offset about the size of a large cherry. At that stage the pup usually has small roots of its own beginning to reach into the surrounding soil, even if you cannot see them yet.
What to look for before you commit to dividing:
- The offset has its own tight rosette, not loose open leaves still unfurling.
- There is a clear stalk connecting it to the mother, and the stalk looks solid rather than translucent.
- When you gently wiggle the offset, it moves the mother slightly too—meaning the connection is still firm and the pup is not yet self-supporting.
- The mother plant is in active growth (spring or early autumn for most Echeveria, Haworthia, and Aloe), not dormant.
If the offset is still tiny and papery at the base, it is not ready. If it is nearly the size of the mother, you have waited longer than necessary and separation will be messier, but still doable.
Deciding Between the Two Methods
There are two realistic approaches to separating offsets, and the right one depends on how the pup is attached and how much you value the mother’s appearance.
| Method | How It Works | Best For | Main Risk |
|---|---|---|---|
| Cut and callus | Slice the connecting stem cleanly with a sterile blade, leave both cut surfaces to dry and form a callus, then plant the pup | Offsets attached by a visible stem above soil; thin-stemmed parents like Echeveria and Sedum | Cutting too close to the mother and leaving an open wound on her side |
| Twist and pull | Grip the offset near its base and rock it gently side to side until it detaches from the mother at the natural break point | Offsets that are nearly self-detached; thick clustered parents like Haworthia and Aloe | Ripping healthy tissue if the connection is still strong |
A third option exists for offsets that are already rooted beside the mother: lift the entire plant, soil and all, and break or cut the pups away with their existing roots intact. This is the least stressful for the pup but the most disruptive for the mother, and it is best reserved for repotting season anyway.
For a first attempt, cut and callus is the more forgiving method. It gives you a clean, predictable wound, and the drying period is where most beginner mistakes are avoided.
When to Divide: Season and Condition
Timing is the least glamorous part of offset division and the one that determines success more than any tool.
Late spring and early autumn are the sweet spots for most succulents. The plant is growing, the wounds heal quickly, and the pup has enough warm weeks ahead to push new roots before the slow season arrives. Dividing in the middle of summer heat can stress both plants, and dividing in late autumn often leaves the pup sitting in cold, damp soil with no rooting energy—a recipe for rot.
There is also a moment-of-day rule that is easy to miss. Water the mother plant thoroughly two or three days before you plan to divide, then let the soil dry out. A well-hydrated mother handles the wound better than a thirsty one. A wet, freshly-watered pup, on the other hand, is more likely to rot at the cut surface. So water ahead, then wait.
If the mother is in flower or recovering from a recent repot, wait. Offsets divided from a stressed plant take longer to root and are more prone to damping off.
The Walkthrough: Separating One Cluster into Three
Here is the sequence, written as if you are working on a single overgrown pot.
Step 1: Prepare your surface and tools. A sterile blade (a craft knife or a clean scalpel works well), 70% isopropyl alcohol for sterilizing, a small dish of sulfur powder or cinnamon for dusting wounds, and two or three small pots with gritty, free-draining soil already filled and lightly tamped. Have everything ready before you touch the plant—you will want to move quickly once the cut is made.
Step 2: Identify the two or three offsets you intend to remove. On a cluster, pick the ones with the most developed stems. Leave any tiny, barely-formed pups attached; they will grow on and can be divided at the next repotting.
Step 3: Gently clear the soil away from the base of each offset. Use your fingers or a soft brush. You want to see exactly where the pup’s stem meets the mother. Soil in the way makes it easy to cut too high, leaving part of the pup’s stem behind.
Step 4: Make one clean cut. Position the blade at the narrowest point of the connecting stem, as close to the mother as you can without nicking her tissue, and cut straight through in a single motion. Sawing back and forth crushes the stem and creates a ragged wound that heals poorly. If the stem is woody and thick, use a gentle rocking cut rather than force.
Step 5: Set the pup aside, cut side up. Do the same for each offset. Then set the mother plant back in her pot, undisturbed, in her usual spot. She will callus over the wound within a few days and continue growing.
Step 6: Let the pups air-dry for three to seven days. This is the callus stage, and it is where beginners lose plants. The cut surface needs to form a dry, leathery scab before it touches any moist soil. Skip this step and the exposed tissue sits against damp grit, where bacteria and fungi move in fast. Three days is enough in warm, dry weather; a week is safer in humid conditions. You will know the callus is ready when the cut surface feels firm and dry to the touch, like a dried callus on your own hand.
Step 7: Plant the pup in dry soil. Nestle it so the callus sits just above the soil line, and firm the grit around the base for support. Do not bury the cut. Do not water.
Step 8: Wait a full week before the first light watering. During that week the pup is using stored water and starting to push new roots. After seven days, give a small amount of water around the base—not a full soak—and only if the soil is completely dry. Over the following two to three weeks, gradually increase watering as you see the rosette plump up and new growth appear.
What Success Looks Like, and How to Tell You Have Failed
A rooted pup shows you signs you can read clearly if you know where to look.
- New growth in the center of the rosette is the single most reliable signal. If the pup is pushing new leaves at the crown, roots have taken hold.
- Resistance to a gentle tug. Before rooting, the pup rocks loosely in the soil. Once rooted, a light tug meets a firm, connected resistance. Do not test this often; once a week is plenty.
- Leaves plump up. A well-rooted pup stops looking slightly deflated and starts to look turgid and shiny again.
The failure signs are also distinct. A pup that is yellowing from the base upward, feels soft and translucent near the soil line, or smells sour has rotted. In that case, pull it, cut away all soft tissue with a sterile blade, redust the wound, and restart the callus phase. This happens to most beginners at least once, usually because the pup was watered before its cut had dried. It is recoverable if the rot has not reached the growing point.
The Mother Plant After Division
The mother is not a passive bystander. Removing two or three offsets leaves visible gaps at her base, and those gaps are open wounds that need the same callus care as the pups. Keep her dry for several days after the cuts—no water for at least five days, and ideally a week. Move her out of direct sun for a few days so the exposed tissue does not scorch. After the wounds dry, resume normal watering. In most cases she will fill the gaps within a season, and often she will produce new offsets from the same spots.
If the cluster was extremely overgrown and the mother’s stems were stretching with no soil contact, this is also a reasonable moment to consider repotting her into fresh, gritty mix. She will recover from both operations at once with a little extra drying time.
A Short Checklist to Keep Nearby
- Pup is at least one-third the mother’s size, with its own visible stem.
- Mother watered two to three days ahead, then allowed to dry.
- Blade sterilized with alcohol; cut made in one firm motion.
- Both cut surfaces dusted and left to callus three to seven days, cut side up.
- Pup planted in dry, gritty soil, callus above the soil line, no water for a week.
- First watering small and around the base; full soaking resumed only after new growth.
- Mother kept dry and shaded for five to seven days after separation.
That is the whole loop, and once you have run it on one successful cluster, the second and third go far faster. The plant that seemed like one crowded pot becomes a shelf of small independent rosettes, each one a copy of the original, each one with its own root system quietly taking hold under the grit.
What has been your biggest hesitation about separating offsets—worrying about cutting too close to the mother, or about losing the pup after it is planted?