Dormancy and death look almost identical in a succulent. A cold-stressed Echeveria can go limp and dull while it is simply slowing down for winter—or it can be sliding into rot because the soil stayed wet through a freeze. The difference between the two is rarely the thermometer alone. It comes down to timing, drainage, and how much protection you put in place before the first hard freeze, not after.
This guide walks through winterizing outdoor succulents as a sequence of steps. Work through them in order, adjust for your zone, and the plant has a real chance of coming back plump in spring.
Step 1: Know Your Zone and Your Plant’s Real Cold Limit
Before you move a single pot, get honest about two numbers: the coldest temperature your garden typically hits, and the cold tolerance of each succulent you own. Most succulents are not as tough as the label suggests, and the label’s “hardy to zone 9” often assumes dry, well-drained soil—not the wet cold that kills more plants than frost itself.
A few common ranges give you a starting point. Note that these are typical tolerances for established plants in dry soil, and wet conditions lower them considerably:
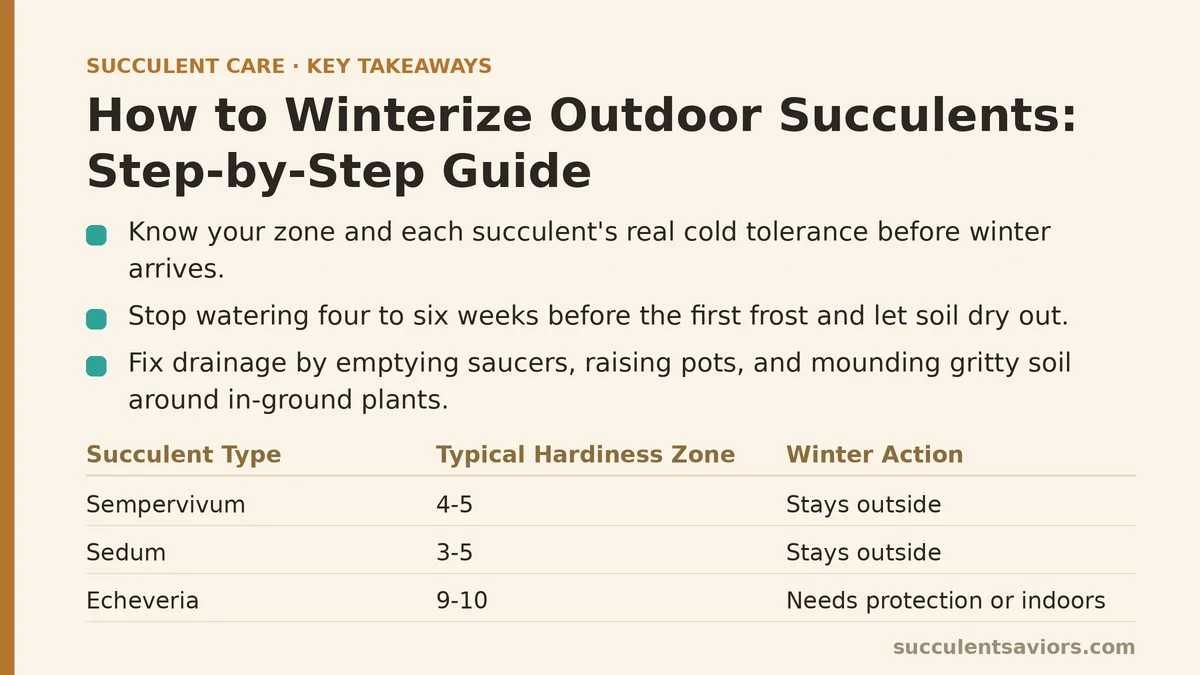
- Sempervivum (hens and chicks): often hardy to zone 4–5 with good drainage.
- Sedum varieties (e.g., stonecrop): commonly zone 3–5, among the most cold-tolerant.
- Echeveria, Pachyphytum, most rosette types: generally zone 9–10; treat as tender.
- Aloe, Kalanchoe, Crassula ovata (jade): typically zone 9–11; bring indoors or protect heavily.
Group your plants into “stays outside,” “needs protection,” and “must come in.” This triage drives everything that follows, so sort before you start hauling.
Step 2: Stop Watering and Let Soil Dry Before the First Freeze
Wet soil plus freezing temperatures is the classic killer. Ice crystals expand inside waterlogged tissue, and roots sitting in cold mud rot long before the plant ever freezes solid. The single most effective winterizing move is to let the root zone dry out going into cold weather.
Begin tapering water about four to six weeks before your first expected frost. Stop altogether once nighttime temperatures are regularly dipping near or below freezing. The plant does not need much water while dormant, and dry soil insulates roots better than wet soil. If rain is in the forecast, that is the next problem to solve—covered in Step 3.
Step 3: Fix Drainage and Raise Pots Off the Ground
Snowmelt and winter rain are the real enemies of outdoor succulents, not the cold. A pot that drains perfectly in July can become a swamp in January because the drainage hole freezes shut or the saucer fills and stays full.
- Empty saucers or remove them entirely for the season. Standing water is fatal.
- Raise pots onto bricks, pot feet, or a slatted wooden pallet so water runs off and the base is not in contact with frozen ground.
- Check drainage holes are open and not clogged with compacted grit.
- For in-ground plants, mound gritty soil or coarse gravel around the crown to shed water away from the base of the plant.
Tilt terracotta and ceramic pots slightly if they have no feet—a small block under one edge lets water escape instead of pooling. Terracotta is more frost-safe than glazed ceramic, which can crack when moisture inside the clay freezes.
Step 4: Move Tender Succulents Indoors or Into Shelter
Tender rosettes, jade, aloe, and anything in the zone 9-plus group should come in before the first frost, not after the first frost warning. The transition matters as much as the destination.
Do not move a sun-loving succulent straight into a dark basement. It will etiolate and stretch toward any faint light within weeks. Instead, place indoor plants near the brightest window available—south-facing in the northern hemisphere—and cut watering back sharply. Expect some leaf drop and color fade; that is normal dormancy, not decline.
If you have no bright indoor space, a cool garage or shed with a window works for cold-hardy types that only need protection from hard freezes. Keep it above freezing but cool enough to slow growth. The key is bright enough to hold shape, cool enough to stay mostly dormant.
Step 5: Build Frost Protection for Plants That Stay Outside
For the cold-hardy group staying in the ground or in large pots, protection is about blocking wind and trapping a little ground warmth—not wrapping the plant like a gift.
| Protection Method | Best For | How It Works | Watch Out For |
|---|---|---|---|
| Frost cloth / floating row cover | Rosette types in zones near their limit | Traps a thin layer of warmer air; breathable | Must be removed on mild, sunny days to avoid overheating |
| Thick dry mulch (straw, gravel) around crown | In-ground Sempervivum and Sedum | Insulates soil surface and sheds water | Keep mulch off the leaves themselves; wet mulch rots crowns |
| Cloche or clear plastic cover | Small pots, single specimens | Shields from wind and direct frost | Needs ventilation holes; sealed plastic traps condensation |
| Windbreak (burlap, board) | Exposed windy sites | Cuts desiccating wind without sealing the plant in | Leave the top open so air can circulate |
| Cold frame or unheated greenhouse | A collection of pots | Moderate protection for many plants at once | Vent on sunny days to prevent heat buildup and mold |
Never seal a succulent inside airtight plastic. Condensation forms, the trapped moisture freezes, and the plant rots under its own cover. Breathable covers with an open bottom consistently outperform tight wraps. Remove protection during mild spells so the plant can breathe and the soil can dry.
Step 6: Manage Light and Wind Through the Cold Months
Winter sun is weak, and a plant that got full summer sun may now be starved for light even while it sits in the same spot. Low light plus cool temperatures encourages stretching and pale, weak growth that will not survive a late cold snap.
Position outdoor plants where they catch the most winter sun available—against a south- or west-facing wall that radiates a little warmth. Meanwhile, screen them from prevailing winter wind, which strips moisture from leaves faster than the roots can replace it in cold soil. A burlap screen or a sturdy fence on the windward side does the job without blocking sun.
Step 7: Hold Off on Fertilizer and Repotting
Do not fertilize going into winter. Feeding pushes soft new growth that has no time to harden off before freezing weather, and that tender tissue is the first to die. Repotting is similarly risky—disturbing roots in cold weather slows recovery and invites rot in damp winter soil. Save both tasks for spring, when the plant is actively growing and can rebound.
The one exception: if a plant is sitting in soggy, poorly draining soil and you are worried about rot, a dry repot into gritty mix before the cold sets in can be the lesser evil. Otherwise, leave roots undisturbed until growth resumes.
Step 8: Check In Monthly—Briefly
Winter care is mostly restraint, but a quick monthly check catches problems early. Look for:
- Soft, translucent, or blackened leaves at the base—early rot. Remove affected tissue and stop watering entirely.
- Soggy saucers or frozen standing water—empty them immediately.
- Covers that have collapsed or sealed shut—reopen for airflow.
- Rodent or slug damage on sheltered plants—mulch and covers make cozy winter hiding spots.
Resist the urge to water during a mild week unless the plant is visibly shriveling and the forecast is dry. A little winter thirst is far safer than a little winter moisture.
The Bottom Line
Winterizing outdoor succulents is less about fighting the cold and more about managing moisture and timing. Triage your plants by real cold tolerance, dry the soil well before the first freeze, keep pots draining and off the ground, move tender types in early, and protect the rest with breathable covers and windbreaks. Hold fertilizer and repotting until spring. Do those things in order, and the plants that come back in spring will reward the patience.
Which step do you tend to skip—the early watering taper, or the monthly winter check? Related guides: Common Mistakes Treating Succulent Pests: Mealybugs & Spider Mites, Common Mistakes When Using Neem Oil on Succulents (And How to Avoid Them), and Succulent Pest Treatment with Neem Oil: A Step-by-Step Beginner Guide.