Say you are trying to keep a pair of Lithops alive on a windowsill, and everything you know about succulents is telling you to water when the soil feels dry. You do that, and within a few weeks the plant turns to mush. This is the single most common way Lithops die, and it happens because these plants operate on rules that contradict almost everything else in a succulent collection. They don’t want a “soak and dry” cycle the way an Echeveria does. They want long stretches of total neglect, followed by very specific, narrow windows of water.
Lithops, sometimes called living stones, are mimicry plants that evolved to look like pebbles in rocky, arid parts of southern Africa. That camouflage is a clue to how they should be treated: like a rock that occasionally needs a drink, not like a leafy plant that needs regular attention. Below is a sequential approach that follows the plant’s actual growth calendar, rather than a generic weekly routine.
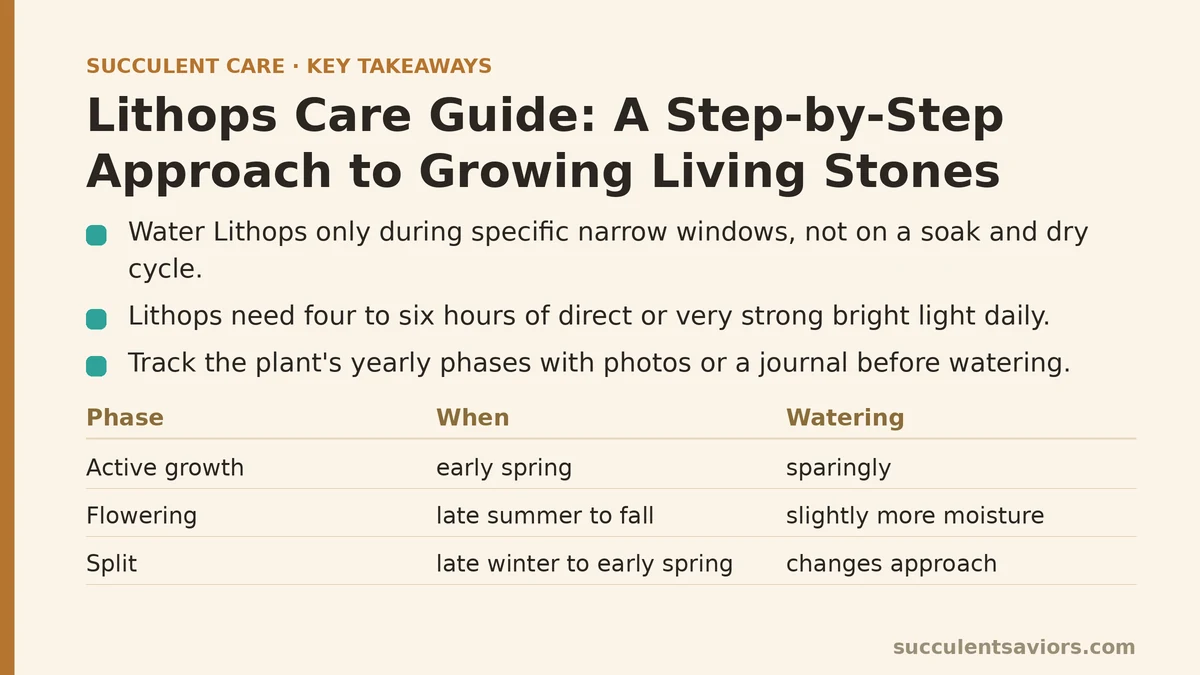
Step 1: Learn to Read the Plant’s Yearly Calendar
Before you touch a watering can, you need to understand that Lithops run on an annual cycle with four distinct phases: active growth, flowering, dormancy, and the “split” when a new pair of leaves emerges from the old ones. Each phase has different watering needs, and giving water at the wrong phase is what kills most plants.
In general terms, growth resumes in early spring, flowering happens in late summer to fall depending on the species, and true dormancy sets in through winter. The split—where a new leaf pair pushes up and absorbs the old, shriveling leaves—usually happens in late winter to early spring. Mark these phases on a calendar or plant journal specific to your Lithops, because the exact timing shifts depending on your climate and the individual plant’s habits.
Step 2: Identify Which Phase Your Plant Is In Right Now
Look closely at the plant before deciding on any care action. If you see a single, plump, healthy-looking pair of leaves with no wrinkling, the plant is likely in dormancy or early growth, and it needs little to no water. If you see the old leaf pair looking papery, wrinkled, and almost translucent while a new pair pushes up from the center, this is the split—and it changes your watering approach entirely (more on that in Step 5).
If you see a flower stalk emerging from the center crevice, the plant is entering its reproductive phase, and this is often when it can tolerate slightly more moisture than usual. Take a photo every few weeks so you can track these transitions over time; with Lithops, subtle visual cues matter more than any fixed date on a calendar.
Step 3: Set Up Light Before You Worry About Water
Lithops need more direct sun than most people expect—typically four to six hours of direct or very strong bright light daily. A south-facing or west-facing windowsill is usually the minimum for indoor growers, and even then, supplementing with a full-spectrum LED grow light for a few hours a day will noticeably improve coloring and prevent stretching.
Insufficient light causes Lithops to grow tall and thin instead of staying low and compact, and it also makes them far more susceptible to rot because a stretched plant has less structural integrity to handle even small amounts of water. Get the light situation right first, because it affects how forgiving the plant will be with every watering decision that follows.
Step 4: Water Only During Active Growth, and Sparingly Even Then
During the active growth phase, which generally runs from spring into early summer for most species, Lithops can be watered—but “watered” here means a light, infrequent soak, not a routine. Water only when the soil is completely, bone dry, and even then, use less water than you’d give a similarly sized Echeveria or Haworthia. A small drink every three to four weeks during active growth is usually plenty for a mature plant in a well-draining pot.
Overwatering during this phase is still possible and still dangerous. Watch the single leaf pair for firmness; if it looks plump and taut, hold off. Water again only once it starts to soften slightly, which signals the internal reserves are running low.
Step 5: Stop Watering Completely During the Split
This step trips up more growers than any other. When you notice the old leaf pair wrinkling and a new pair emerging from the center, stop watering entirely. The new leaves are drawing moisture directly from the old, dying pair, not from the soil. Adding water during this phase is one of the fastest ways to cause the whole plant to rot from the inside, because the root system doesn’t need extra moisture while this internal transfer is happening.
This dry period can last anywhere from four to ten weeks depending on the plant and climate. Resist the urge to intervene even if the old leaves look alarmingly shriveled and dead—that shriveling is exactly what’s supposed to happen. Only resume watering once the new leaf pair is fully formed and the old leaves have dried to a thin, papery husk that can be gently brushed away.
Step 6: Let the Plant Go Fully Dormant in Winter
Once flowering finishes and temperatures drop, Lithops enter true dormancy. During this phase, withhold water almost entirely—many experienced growers give no water at all for two to three months. The plant’s growth essentially pauses, and any water added during this window sits in cold, inactive soil with nowhere to go, which invites root and stem rot.
Keep dormant plants in a cool spot with bright light but reduced watering frequency compared to even the driest stretches of the growing season. If your Lithops looks slightly dull or matte during this period, that’s normal; a slight loss of shine is not a sign of distress the way it would be in other succulents.
Step 7: Use the Right Soil and Pot From the Start
Lithops need soil that drains faster than typical succulent mixes—aim for at least 70% mineral material such as coarse sand, pumice, or perlite, with a small fraction of organic matter for nutrients. A standard succulent mix straight from a bag is usually still too rich and retains too much moisture for this plant specifically.
Choose a pot with generous drainage holes, and favor unglazed terracotta over plastic or ceramic. Terracotta wicks moisture out of the soil between waterings, which works in your favor given how infrequently this plant should be watered. A shallow but wide pot suits the plant’s naturally short root system better than a deep one.
Step 8: Adjust for Indoor vs. Outdoor Growing Conditions
If you’re growing Lithops outdoors in a climate with mild, dry winters, you can often follow the plant’s natural cycle with minimal intervention beyond occasional rain protection. Indoor growers have a harder job: central heating and air conditioning flatten the seasonal light and temperature cues the plant relies on to time its phases correctly.
To compensate, try to mimic seasonal changes deliberately. Reduce grow light hours in winter, keep the plant slightly cooler during dormancy if you can manage it near an unheated window, and resist the temptation to treat indoor Lithops on the same schedule as your other houseplants. The plant is reading cues from its environment, and confused cues lead to confused, unhealthy growth.
Quick Reference: Lithops Care by Growth Phase
| Phase | Typical Timing | Watering Approach |
|---|---|---|
| Active growth | Spring–early summer | Light watering every 3–4 weeks once soil is bone dry |
| Flowering | Late summer–fall | Slightly more tolerance for moisture, still infrequent |
| The split | Late winter–early spring | No water at all until new leaves fully form |
| Dormancy | Winter | Minimal to no water for 2–3 months |
Lithops reward patience more than most other succulents, precisely because so much of their care involves doing less rather than more. The plants that thrive longest tend to belong to growers who track the seasonal phases closely and resist stepping in with water just because it’s been a while. If you’re working with your first pair of living stones this year, which phase feels the hardest to sit through without reaching for the watering can—the long winter dormancy, or the split when the old leaves look like they’re dying?
Related guides: Echeveria Care Guide: Growing Colorful Rosettes (Beginner vs. Advanced), How to Care for Succulents While Traveling: A Step-by-Step Prep Guide, and Portulacaria afra (Elephant Bush) Care Guide: A Troubleshooting Approach.