Say you are trying to move a slightly rootbound echeveria from a cramped nursery pot into a proper terracotta one, and somewhere between tipping the plant out and filling the last scoop of soil, panic sets in. The root ball is crumbling. A leaf snaps off. You are not sure whether you have just helped the plant or doomed it. This is the normal beginner experience of repotting, and the fix is not a steadier hand—it is a clearer process. Repotting is a mechanical task with a handful of decision points, and once you know them, the anxiety fades fast.
Below is the full sequence, from choosing the pot to the first watering after the move. Work through it slowly and you will avoid most of the damage that gets blamed on “repotting shock.”
Step 1: Decide Whether the Plant Even Needs Repotting
Repotting a succulent that does not need it causes more harm than good. Before you start, check for real signs rather than going by the calendar.
Look for these signals:
- Roots circling the drainage hole or pushing up above the soil line.
- Water running straight through the pot within seconds of watering, a sign the root mass has filled the space.
- A plant that dries out unusually fast, often within a day or two in warm weather.
- A pot that feels top-heavy and tips easily because the roots have displaced the soil.
- Soil that has compacted into a hard, peaty brick that sheds water off the surface instead of absorbing it.
If none of these apply, leave the plant alone. Succulents tolerate snug roots far better than they tolerate an oversized pot filled with wet soil.
Step 2: Pick the Right Pot Size and Material
The single most common beginner mistake is choosing a pot that is too large. A succulent moved into a big container sits in a large volume of damp soil that its small root system cannot drink up, and that excess moisture is what rots the plant.
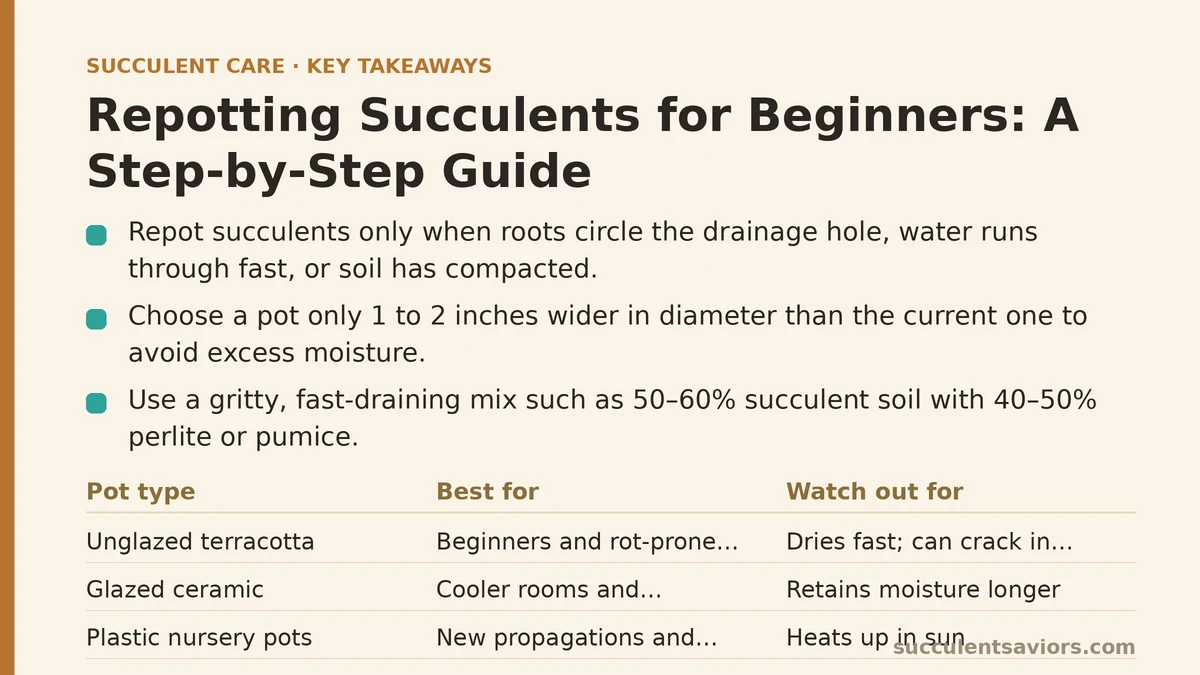
Aim for a pot roughly one size up—about 1 to 2 inches wider in diameter than the current one. Anything more than that slows drying in a way that works against you.
| Pot Type | Best For | Watch Out For |
|---|---|---|
| Unglazed terracotta | Beginners, rot-prone plants, hot climates | Dries out fast; can crack in freezing weather |
| Glazed ceramic | Cooler rooms, plants that dry slowly | Retains moisture longer; check the drainage hole |
| Plastic nursery pots | New propagations and temporary moves | Heats up in sun and dries unevenly |
| Fabric grow bags | Large plants that need airflow | Dries very fast; pots can look untidy in a display |
Whichever you choose, a drainage hole is non-negotiable. A decorative pot without one collects water at the bottom and turns into a slow rot chamber, no matter how careful you are with watering.
Step 3: Mix the Right Soil
Garden soil and bagged houseplant mix are both too heavy for succulents. They hold water against the roots for too long, and the roots respond by rotting.
What you want is a gritty, fast-draining mix. You have a few honest options here, and each is a reasonable choice depending on how hands-on you want to be:
- Pre-mixed cactus or succulent soil straight from the bag. Convenient and usually fine, but many brands are peat-heavy and still hold more moisture than ideal. Mixing in extra grit improves them noticeably.
- Your own blend, typically around 50–60% succulent soil to 40–50% perlite or pumice. This gives you control over drainage and is the most reliable approach for plants prone to rot.
- A pre-bagged gritty mix built for succulents. Pricier, but consistent and requires no measuring.
If you blend your own, wear a mask when pouring pumice or perlite; the fine dust is irritating to inhale.
Step 4: Stop Watering Before You Start
Water the plant thoroughly a day or two before repotting, then let it dry out. The goal is a root ball that holds together but is not saturated. Bone-dry soil crumbles away from the roots too easily, and soaking wet soil turns to mud in your hands.
Think of it as a middle state: cool, dark, slightly moist to the touch but not dripping. That is when roots separate most cleanly and shock is minimized.
Step 5: Gently Remove the Plant
Turn the pot on its side and support the plant with one hand while you tap the base and rim against a table. Slide the pot off rather than pulling the plant out by its stems, which can tear roots and snap leaves.
If the pot will not budge, run a thin knife or a chopstick around the inside edge to loosen the soil. Then tip it out over a tray so you can see how the roots look.
Lay the plant on its side and inspect. White, firm roots are healthy. Black, mushy, or foul-smelling roots mean rot, and you will want to trim them back with clean scissors before proceeding. Brown but firm roots are usually just older roots, not a problem.
Step 6: Loosen the Root Ball
This step is where many beginners freeze. Should you break up the root ball or leave it intact? For succulents, a gentle loosening is usually right. Use your fingers to tease apart the outer roots so they are not wrapped in a tight disc, but do not shred them.
If the roots are circling badly, gently pull a few outward with your fingertips so they will grow into the new soil rather than continuing to spiral. A small amount of breakage is normal and the plant recovers from it. Aggressive ripping is not necessary.
Step 7: Plant at the Correct Depth
Add a layer of fresh mix to the bottom of the new pot, place the plant so the base of the stem sits at or just below the rim, and backfill around the roots. Tamp the soil lightly with your fingers as you go, but do not press hard—compaction defeats the purpose of a gritty mix.
The most important rule: the crown of the plant—where the stem meets the soil—sits at or slightly above the soil line. Burying it deeper sends moisture against the stem base, which is a fast route to rot. Succulents that are planted too deep often look fine for weeks before the stem turns soft and dark.
If the plant is top-heavy or leaning, wait a week or two after repotting for the roots to settle before propping it with a stick.
Step 8: Wait Before You Water
This is the step beginners most often rush. Do not water immediately after repotting. Any roots you broke or trimmed need time to callus over, and fresh soil should settle first. Watering right away on damaged roots is a common cause of rot.
Wait about a week to ten days before the first watering, then water thoroughly until it runs out the drainage hole. Until then, keep the plant in bright, indirect light—not direct sun—and away from drafts.
You may see a little wilting or a wrinkled leaf or two during this window. That is normal water stress from the move, not a sign the plant is dying. If a single leaf collapses or yellows, remove it and let the plant keep going.
Common Beginner Mistakes and Their Fixes
A few failures come up again and again, and each one has a straightforward remedy:
- Pot too large. The soil stays wet too long. Fix: move down a size, even if it feels wrong.
- Burying the crown. The stem goes soft at the base. Fix: unpot, clear the soil away from the stem base, and replant higher.
- Watering right after repotting. Roots rot before they heal. Fix: wait the full week. If rot has already begun, trim the soft roots, let them callus, and repot in dry soil.
- Breaking every leaf. Fragile leaves snap if you drag the plant out. Fix: always support the plant from underneath, not by the stem.
- Using ordinary potting soil. The plant sits in a bog. Fix: amend with perlite or pumice until the mix feels loose and crumbly in your hand.
Step 9: Settle the Plant In
Once the first watering has passed and the plant is stable, give it a few weeks of gentle conditions before returning it to your usual routine. Over the following month, watch for new growth at the crown and roots showing at the drainage hole—both are signs the repotting took. Avoid fertilizer for the first month or so, since the new soil usually carries enough nutrients and stressed roots do not need the extra push.
Repotting does not require perfection, and small mishaps are survivable. A snapped leaf, a slightly bruised root, or a few days of drooping are all recoverable. What matters is the outcome a few weeks later: a settled plant, a pot that drains freely, and root space to grow into.
Which part of the process worries you most—getting the plant out of the old pot, or the wait before the first watering?
Related guides: String of Pearls Care Guide (Senecio rowleyanus): A Troubleshooting Approach, How to Treat Mealybugs on Succulents Naturally, and Succulent Pest Treatment with Neem Oil: A Step-by-Step Beginner Guide.